1st District Fascia
Fudd's Crossing
Since the trestle needs to accommodate both rail and vehicle traffic I decided to use 11 foot long bridge ties. The stringers are 12 x14's. The Mt. Albert scale lumber was pre-cut and stained with Builders-in-Scale Silverwood.
Here is the bridge just about ready for installation. The bents have been added at a angle to reflect the flow of the river. The ties were stripped from a piece of flex track and the rail was attached with Pliobond. I still need to install the planking in order to allow the passage of vehicles.
Trestle Bents
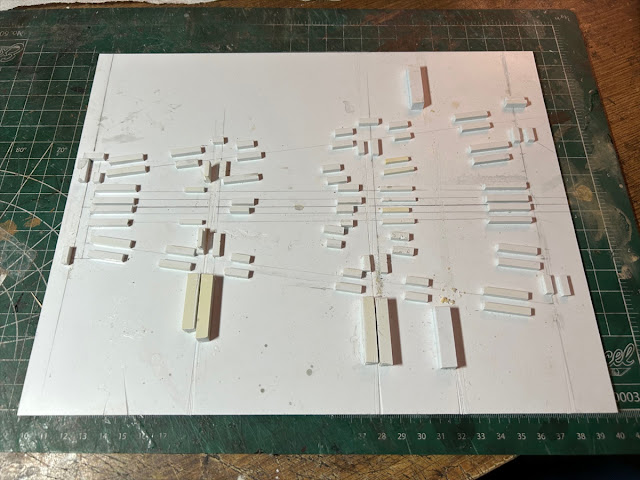
The RGS had lots of trestles so a fixture was made to help with the assembly. The fixture was built using a set of plans I found in a old Narrow Gauge Gazette and several plans for 1st District trestles in the RGS Story (Volume III). It should be noted that there were some discrepancies found when comparing the plans both in terms of layout and material sizes. Since I don't have the room to duplicate most if not all the trestles I will need, I used both plans along with some modelers license to decide on the layout and material sizes to build the fixture from a sheet .080" styrene and some leftovers from previous projects.
Here is a completed bent.
Once all the pieces were cut, they were removed from the fixture and stained with Builders-In-Scale Silverwood and set aside to dry. I made sure to arrange the pieces so that when it came time to assemble the bent, I would know exactly where they fit back into the fixture for gluing.
The pieces were put back in the fixture and glued in place with Aleen's Tacky Cement. The sway braces were added to one side while the bent was still in the fixture. The remaining sway braces, on the opposite side, were attached after the bent was removed from the fixture. The sway braces are 2x12's (One set of plans said they should be 3x9's, the other 3x12's). Based upon a review of the available photographs, it appears that the RGS nailed the sway braces to the bents so nut and bolt detail won't be added. Here are a couple of finished bents for Trestle 45A.
As always, you comments, suggestions and questions are welcome


No comments:
Post a Comment